Materials
How to Add Materials
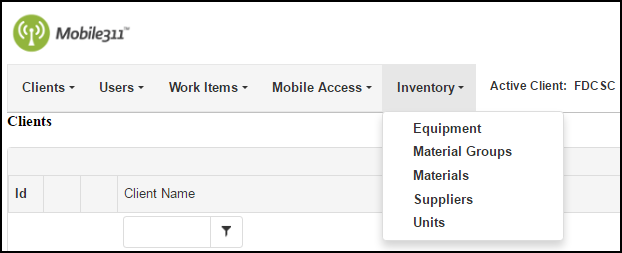
- Hover over the Inventory tab and click Materials.
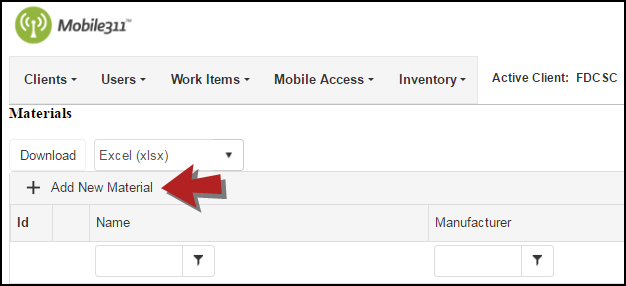
- Click on Add New Material at the top of the Material list.
- Enter the Material Name. *Note: This is a required field.
- Fill out the Model, Manufacturer, Serial Number, Reorder Quantity, and Supplier fields. Filling out these fields ensures your material information is stored in one place for you to reference at any time for instances in which you may need to reorder an item, etc.
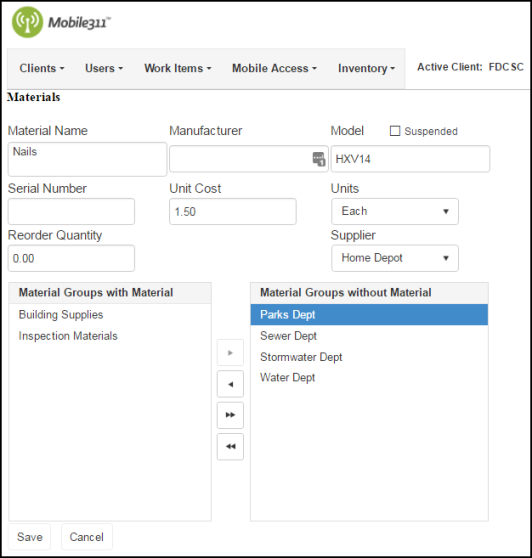
- Enter a Unit Cost for the Material and select the Units that are directly related. For example, if you are entering nails and you want to track each nail individually, enter the cost in the Unit Cost field and select Each from the Units drop down. *Note: Material usage cost is tracked under the Materials tab on the work item and in the Materials section of the work item form on the mobile app.
- Click Save when you are finished.
Updating Materials
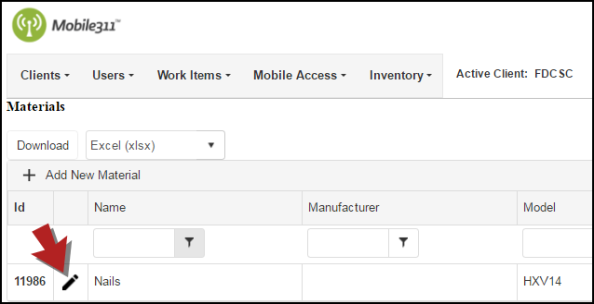
- Hover over the Inventory tab and click Materials.
- Click on the pencil icon (
 ) next to the Material that needs to be updated.
- On the next screen, make any necessary changes and click the Save button when you are finished.
Suspending Materials
If you are no longer using a Material, you have the option of suspending it so that you cannot add it to a Work Item not view it in the Material list.
- Hover over the Inventory tab and click Materials.
- Click the pencil icon (
 ) next to the Material that needs to be suspended.
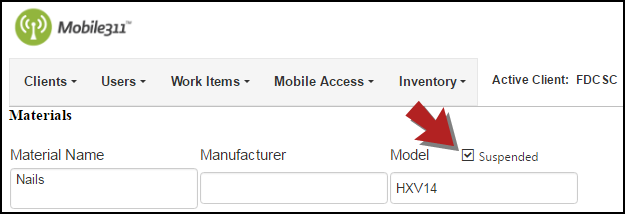
 - Check the Suspended box at the top of the page.
- Click the Save button when you are finished.
